 Creating Kanban and Scrums boards can feel overwhelming when you’re not familiar with Jira Software, or if you're new to the program. How do you create one and set it up right? How do you share it with with your team? What can you do with boards? Don’t worry, in this blog we’re going back to basics to make sure we cover all of the good stuff.
Below are some instructions on how to create a board.
- Go to the project you want to add a board to and on the far left navigation column, select the dropdown arrow next to the current board you’re viewing in the project.
- Go to the bottom of the dropdown menu and select “create board”.
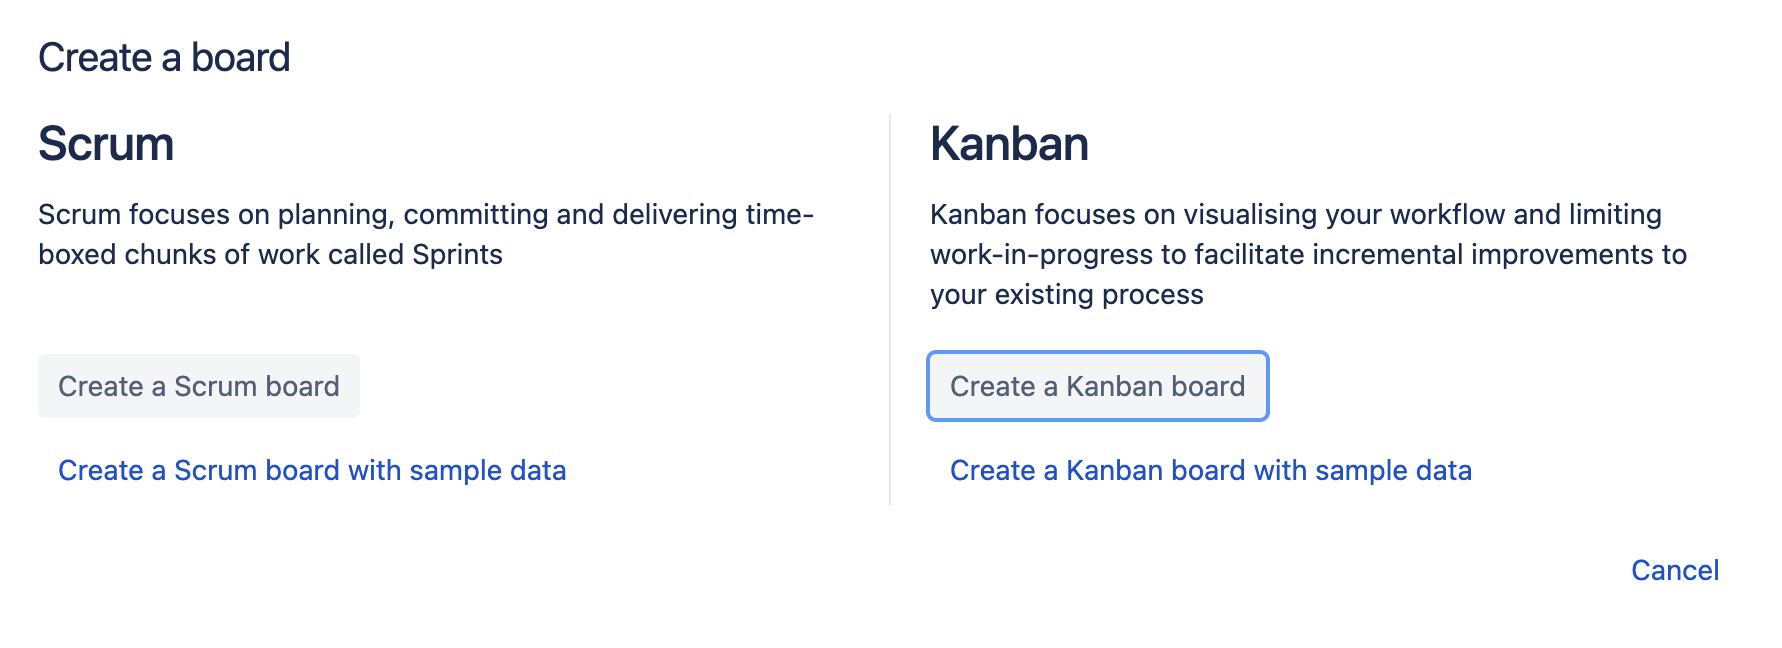
- A pop up should appear asking you to select what kind of board you want (Scrum or Kanban). In this example, we’ll select Kanban.
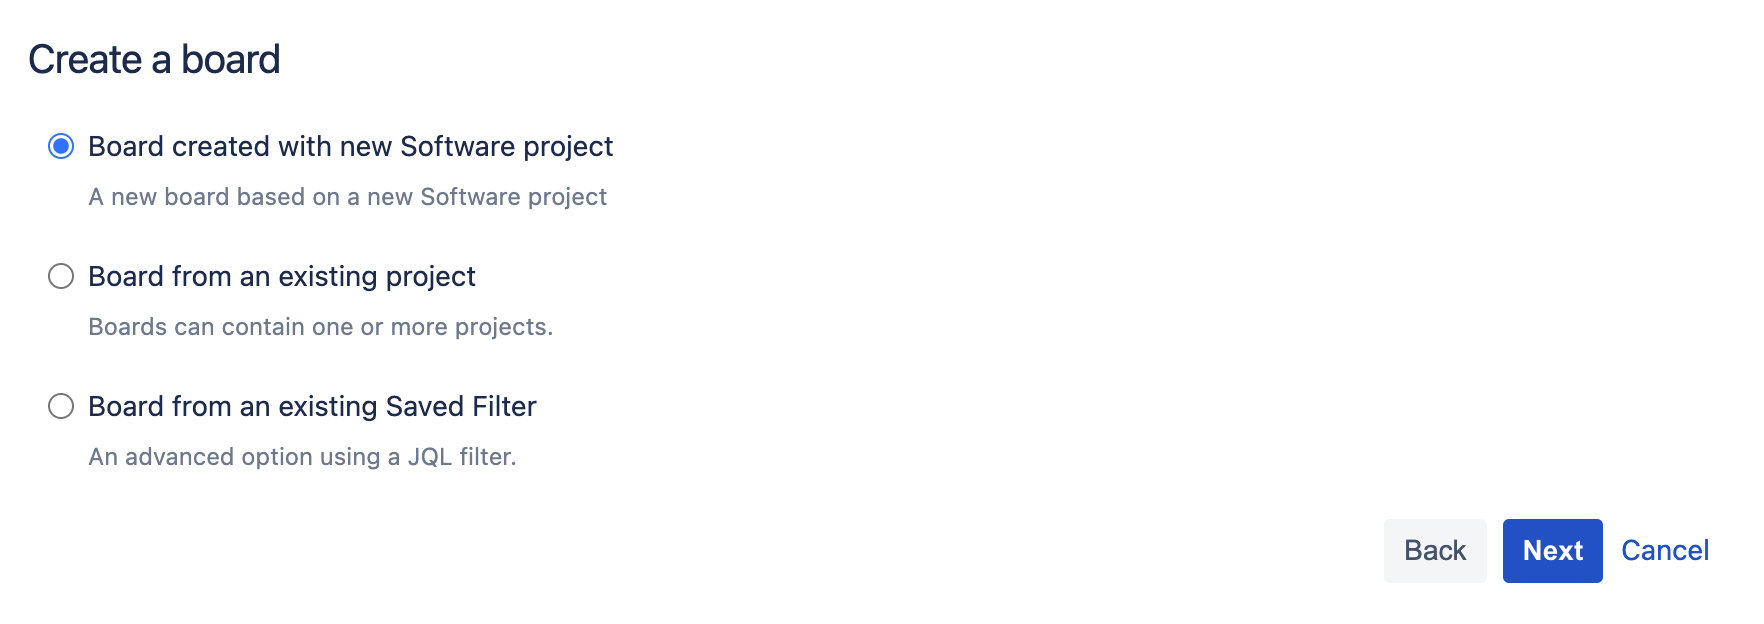
4. Next it will ask you where you want to create the board from. For this example, we’ll select “Board from an existing project”.
5. Give your board a name, choose what project you want associated with and where the board should live.
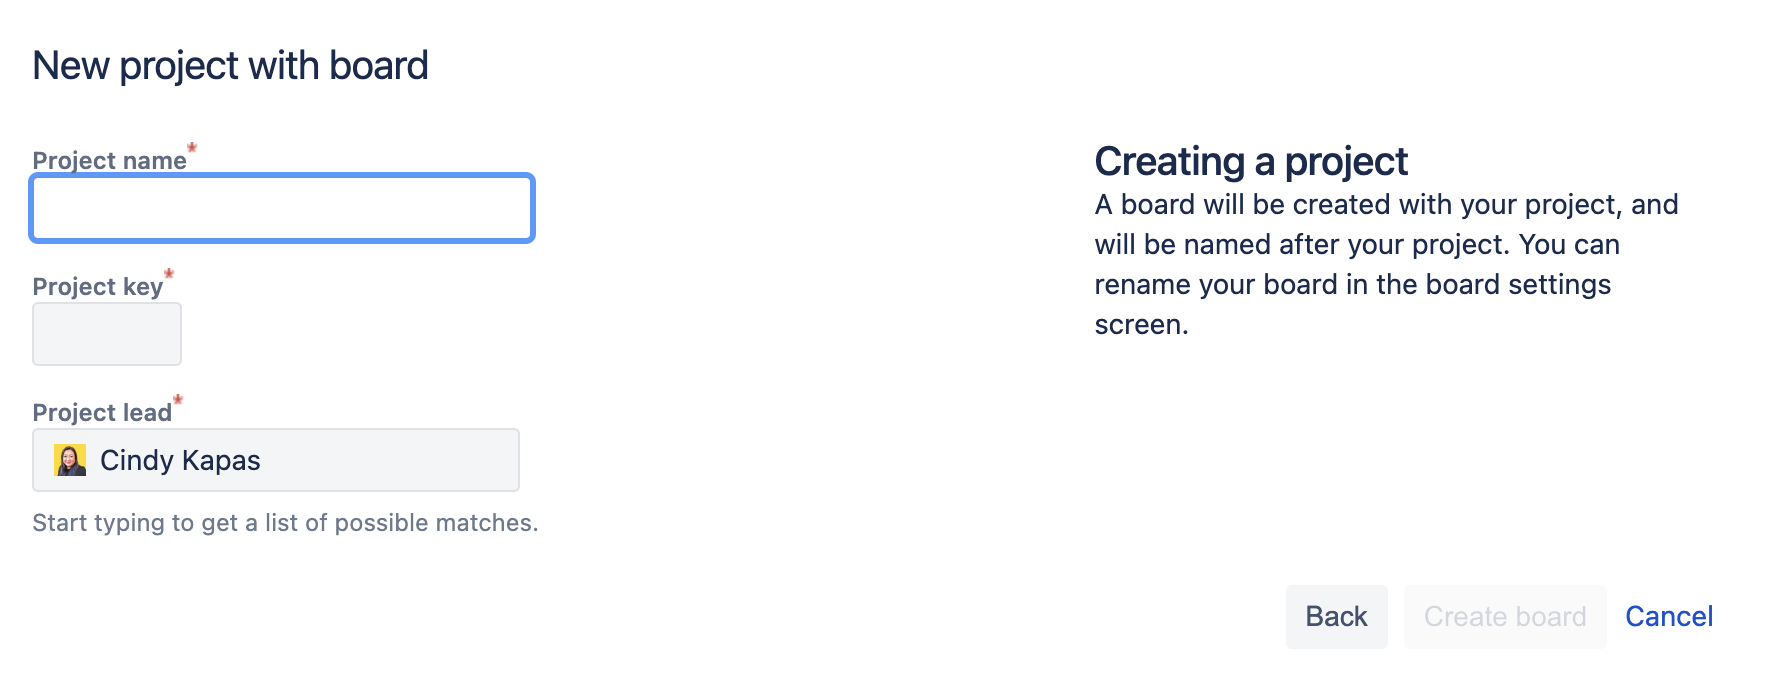
6. Click “Create board” and it’s live!
When it comes to configurations, here is a quick checklist that I go run through to ensure I covered all the bases. Click the ellipses (...) in the top right corner of your board to configure it by selecting “board settings”. Go through the settings menu one by one to make sure you’ve accounted for everything.
- General
- Who do I want to add as board administrators to this board? Remember that multiple users can be board admins!
- Do I need to share my board filter with anyone? If so, select “Edit Filter Shares”. The filter is already viewable for everyone in the project, but what about adding editors to the filter in case it needs to be updated?
- Do I want to hide completed issues after a certain period of time? Default is set to 2 weeks, but you can click the dropdown menu to adjust the time.
- Columns
- Do I need to add more columns such as “QA” or “UAT”? Add columns by click the “Add column” button to the top right.
- Are the statuses mapped to the correct columns? Remember that more than one status can be mapped to a column. You can even hide a status from the board, but moving the status to the far right under “unmapped statuses”
- Swimlanes
- Do I want my board organized in multiple rows based on queries, stories, assignees, epics, or projects? If not, you can select none in the dropdown menu.
- Quick Filters
- Do I want to add any saved filters that will display at the top of my board to easily view the issues I care about? This could be a filter that shows issues with a certain label or only applies to a specific team.
- I like to test my filter in advanced issue search since there are usually prompts to help me with the JQL. Testing there will let me know if my filter works as expected. If so copy and paste it in the quick filters settings for your board.
- Card Layout
- Are there any important fields I want to easily view on a card?
- You can add a maximum of 3 fields to a card to avoid having to always click on the card to view the issue details.
And there you have it! Once you quickly run through this checklist, you should be able to get your board up and ready for consumption! As your team starts using the board more regularly, you’ll be able to observe if your current configurations work best for the team and make adjustments where needed.

 Isos Technology


 Chrystal Wyse
5 MIN READ
Chrystal Wyse
5 MIN READ

